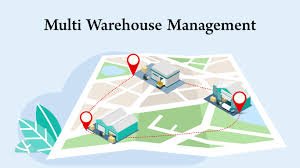
🏢 Understanding Multi-Warehouse Management in MaltiTask
Efficient warehouse operations are essential for businesses dealing with large-scale inventory and logistics. For companies managing inventory across different locations, multi-warehouse management becomes crucial for operational control and cost-effectiveness.
MaltiTask offers a robust solution with its Inventory module, allowing users to configure, operate, and monitor multiple warehouses in a centralized system. Whether your business handles regional warehouses, third-party logistics, or dropshipping hubs, MaltiTask simplifies the complexity.
In this blog, we’ll walk you through how to configure and manage multiple warehouses in MaltiTask, with best practices and real-use cases.
🚀 Why Use Multi-Warehouse in MaltiTask?
Multi-warehouse support helps you:
- 🌍 Operate from multiple locations
- 📦 Allocate inventory efficiently
- 🔄 Route shipments based on location
- 🧮 Track stock levels separately per warehouse
- 📊 Generate detailed location-based reports
This is particularly useful for distributors, manufacturers, or retailers with different hubs across cities or countries.
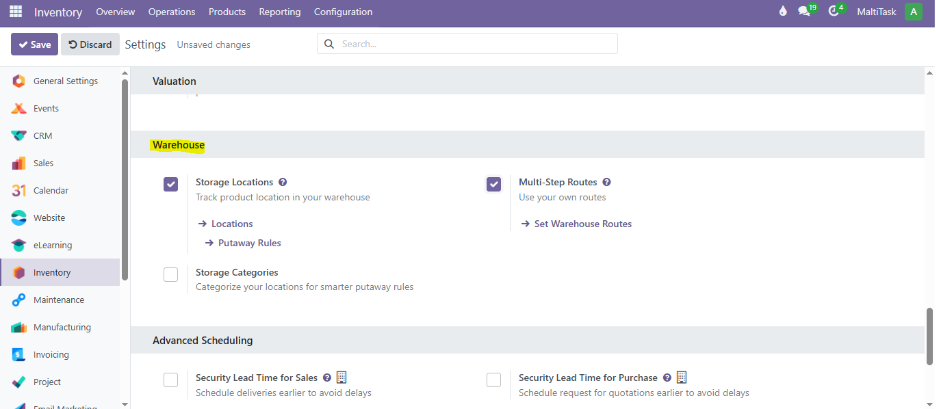
🛠️ Step 1: Enable Multi-Warehouse Feature
Before configuring warehouses, make sure the option is enabled.
📌 Path:
Inventory > Configuration > Settings
Scroll to Warehouse section and check:
✅ “Multi-Step Routes”
✅ “Storage Locations”
Click Save.
🏢 Step 2: Creating a New Warehouse
Now you can add multiple warehouses.
📌 Path:
Inventory > Configuration > Warehouses > Create
Fill in:
- Warehouse Name (e.g., Malta Central)
- Short Name (Used in reports and menus)
- Address (if different from the main company)
- Company (Select if using multi-company setup)
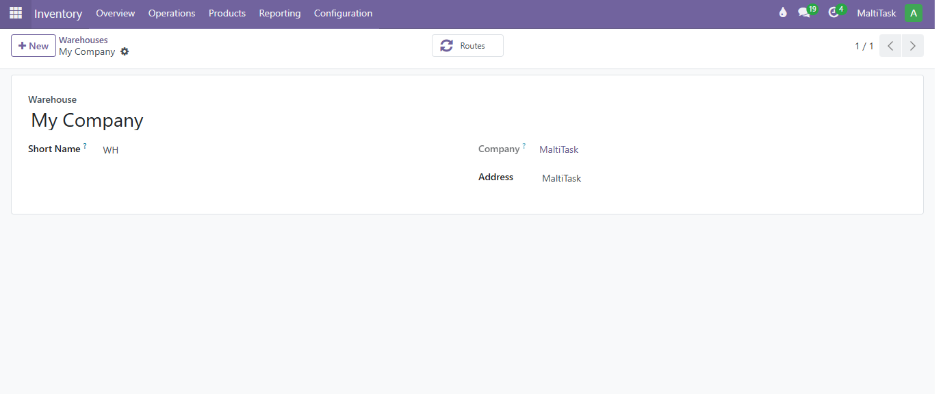
💡 Pro Tip: Short codes help identify warehouses easily in reports. Use 2-3 letters like MLT for Malta, DXB for Dubai, etc.
🔁 Step 3: Configure Routes for Each Warehouse
Each warehouse can have its own incoming, outgoing, and internal transfer routes.
📌 Path:
Inventory > Configuration > Routes
You can assign:
- Buy: for incoming products
- Manufacture: if products are made internally
- Dropship: direct shipment to customer
- Replenish on Order (MTO): trigger automatic replenishment
️
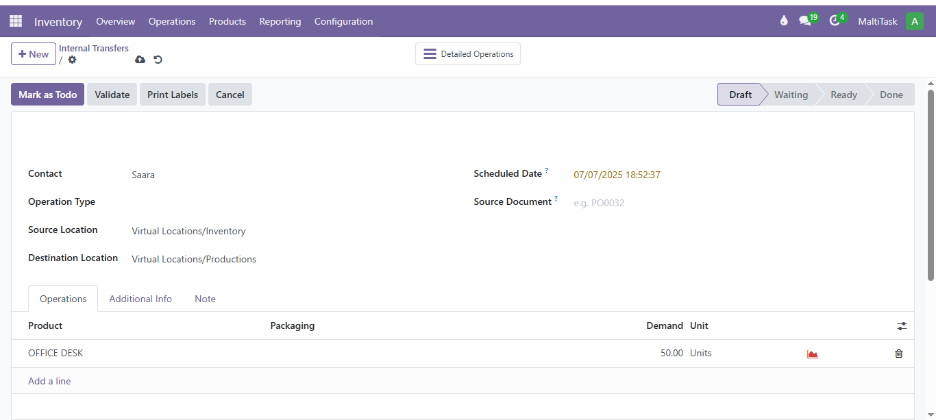
🔄 Step 4: Stock Transfers Between Warehouses
Transferring stock between warehouses is easy in MaltiTask.
📌 Path:
Inventory > Operations > Transfers > Create
- Operation Type: Internal Transfer
- Source Location: First warehouse
- Destination Location: Second warehouse
- Enter product and quantity
Click Validate to complete the transfer.
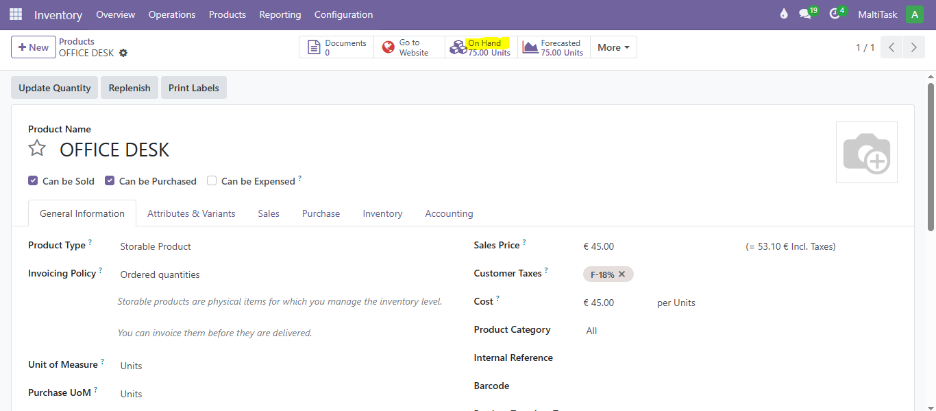
📦 Step 5: Managing Stock Levels Per Warehouse
You can view real-time stock levels by warehouse.
📌 Path:
Inventory > Products > Products > On Hand
From there, click a product → View Stock by Location
You’ll see stock quantities split by each warehouse.
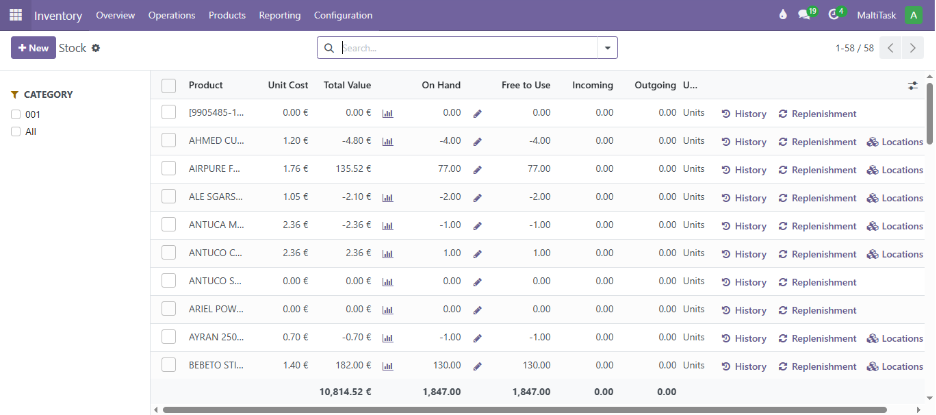
📊 Step 6: Reporting & Warehouse Analysis
MaltiTask provides detailed reports for each warehouse, such as:
- Incoming/outgoing movements
- Stock valuation by warehouse
- Inventory aging per location
- Forecasted stock
📌 Path:
Inventory > Reporting > Inventory Report
Use filters like Warehouse, Location, or Product Category.
💼 Use Case: At Maltitask, we’ve helped retail clients set up POS systems with specific warehouse routes—ensuring that stores never sell what’s not available in their local stock.
✅ Conclusion
With MaltiTask’s multi-warehouse management, businesses can streamline inventory flows across multiple locations. The system ensures complete visibility, control, and optimization—critical for businesses scaling across borders or operating diverse supply chains.
From internal transfers to real-time reporting, MaltiTask empowers businesses with smarter inventory movement and precise reporting tools.